- 1 Quick Overview
- 2 What is Hostinger?
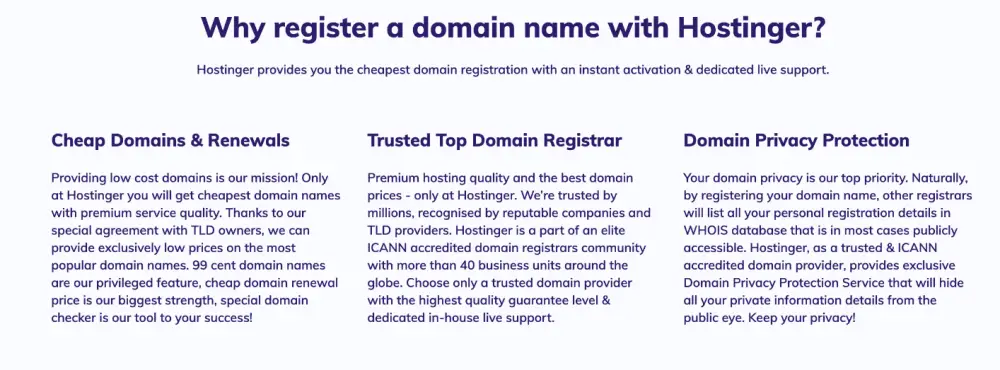
- 3 Why Choose Hostinger
- 4 Pick the Right Plan First (Don’t Skip This)
- 5 Step 1 — Go to the Hostinger Pricing Page
- 6 Step 4 — Review Your Cart and Apply Coupon Code
- 7 Step 5 — Create Your Account
- 8 Step 6 — Complete Payment
- 9 Log In to hPanel and Set Up Your Website
- 10 Pros & Cons
- 11 Who Should Sign Up — and Who Shouldn’t
- 11.1 Frequently Asked Questions
- 11.2 Do I need technical skills to sign up with Hostinger?
- 11.3 Can I change my hosting plan after signing up?
- 11.4 What payment methods does Hostinger accept?
- 11.5 Does Hostinger offer a money-back guarantee?
- 11.6 Is the free domain actually free?
- 11.7 Which plan is best for a beginner?
- 11.8 What happens after I complete payment?
- 11.9 Final Verdict
If you’re starting a blog or website and have Hostinger in mind — good call. It’s one of the most affordable managed WordPress hosts available right now, and the signup process is straightforward even if it’s your first time.
This guide walks you through every step — from picking the right plan to setting up your account after payment. I used Hostinger for about 3 years across multiple projects before shifting to other tools in 2026, so what you see here comes from real experience, not just the official documentation.
Quick Overview
- Business Plan (48 months): $3.71/mo (was $18.99/mo — save $733.41)
- Premium Plan (48 months): $2.99/mo (was $11.99/mo — 75% off)
- Cloud Startup (48 months): $7.99/mo (was $27.99/mo — 71% off)
- Free domain + free daily backups + 5 mailboxes included
- Coupon works at checkout — applied automatically after clicking the link ( Save 7% Extra )
Coupon Code: wpdealsexpert 👇
Prices reflect 48-month billing. Renews at standard rate. Coupon saves an additional $13.41 on Business Plan as verified at checkout.
This post contains affiliate links. If you purchase through our links, we may earn a small commission at no extra cost to you. Thank you for your support!What is Hostinger?
Hostinger is a web hosting company founded in 2004 in Lithuania. It currently serves over 5 million website owners across 150+ countries worldwide.
What sets it apart from other budget hosts is that managed WordPress hosting, NVMe storage, and LiteSpeed servers are available from the entry-level plans. Every plan also comes with a 99.9% uptime guarantee.
If you’re buying hosting for the first time and want to build a WordPress blog or website, Hostinger’s hPanel interface is genuinely beginner-friendly. I managed multiple client projects on it for about 3 years — the learning curve is minimal compared to traditional cPanel setups.
Why Choose Hostinger
Hostinger consistently ranks among the top budget hosting providers for a few practical reasons — genuinely low pricing without cutting corners on performance, a control panel built for beginners, and WordPress-specific features like one-click install, LiteSpeed cache, and managed updates included from the base plan.
It’s not the most powerful host available, but for bloggers, freelancers, and small business owners starting, the value-to-cost ratio is hard to match.
Pick the Right Plan First (Don’t Skip This)
Most guides tell you to “just visit the site and sign up.” But plan selection is where most beginners make mistakes — either overpaying for Cloud Startup when they don’t need it, or going with Premium and hitting limits later.
Here’s a clean breakdown using Hostinger’s current pricing (48-month billing):
| Feature | Premium | Business | Cloud Startup |
|---|---|---|---|
| Price/mo (48 months) | $2.99 | $3.71 | $7.99 |
| Websites | 3 | 50 | 100 |
| Storage | 20 GB SSD | 50 GB NVMe | 100 GB NVMe |
| RAM | 2 GB | 3 GB | 4 GB |
| CPU Cores | 1 | 2 | 4 |
| PHP Workers | 40 | 60 | 100 |
| Daily Backups | ✗ | ✓ | ✓ |
| Free CDN | ✗ | ✓ | ✓ |
| Dedicated IP | ✗ | ✗ | ✓ |
| Mailboxes | 2/site | 5/site | 10/site |
| Databases | 10 | 150 | 300 |
| Renews at | $10.99/mo | $16.99/mo | $25.99/mo |
Quick recommendation:
- Just starting one blog → Premium is fine
- Managing multiple sites or client projects → Business (daily backups and CDN alone justify the $0.72/mo difference)
- High-traffic site or WooCommerce store → Cloud Startup
One thing worth knowing: Business and Cloud Startup use NVMe storage instead of regular SSDs on Premium. On a client WordPress site, I migrated to the Business plan, and page load times improved noticeably — especially on WooCommerce product pages. NVMe genuinely makes a difference for database-heavy sites.
If you’re still figuring out what kind of site you want to build, this guide on how to choose a niche for your blog is worth reading before you commit to a domain name.

Step 1 — Go to the Hostinger Pricing Page
Visit Hostinger via this discounted link — this pre-activates the promotional pricing before you even select a plan.
You’ll land on the Web Hosting pricing page. Two dropdowns at the top matter:
- Type of hosting — keep it on “Web Hosting” unless you specifically need VPS or Cloud
- Length of subscription — select 48 months for the lowest monthly rate
Don’t let the 4-year commitment feel intimidating. The per-month savings are significant, and Hostinger backs it with a 30-day money-back guarantee anyway.
Step 2 — Select Your Hosting Plan
Click Choose Plan for the tier that best fits your needs based on the comparison above.
If you’re unsure whether WordPress is the right platform for your site, check out this guide on how to choose a blogging platform before going further.
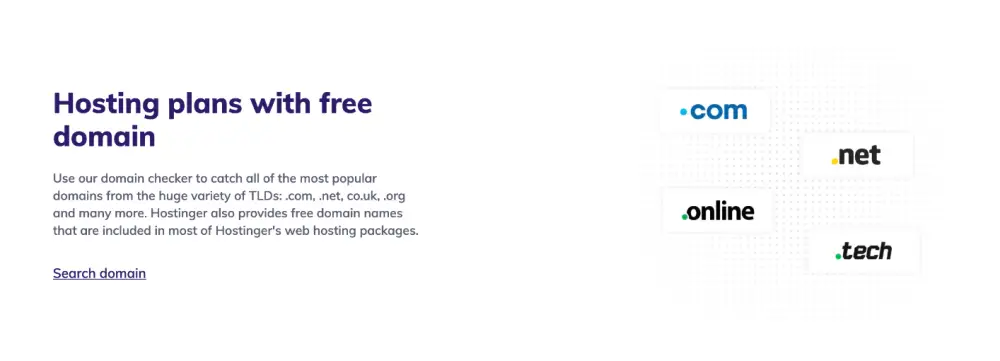
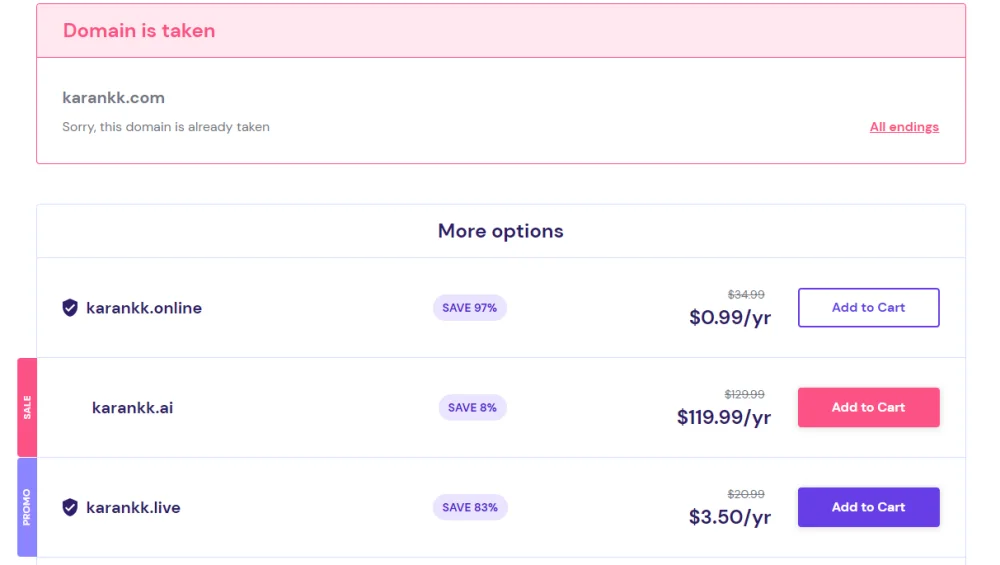
Step 3 — Choose Your Domain
After selecting a plan, you’ll be prompted to either register a new domain or use one you already own.
If you’re registering a new domain:
- Type your preferred name in the search box
- Hostinger checks availability across .com, .net, .org, .shop, .xyz, .blog, .tech, .site, and more
- Free for the first year on all plans — WHOIS privacy included at no extra cost (~$9.99/yr value)
If you already own a domain:
- Select “Use a domain you own.”
- You can point it to Hostinger’s nameservers after signing up — no need to transfer it immediately
Take your time here. A domain name is hard to change once your site is live. If you haven’t decided yet, these two guides will help: how to choose the perfect domain name and choosing a domain name for a personal website.
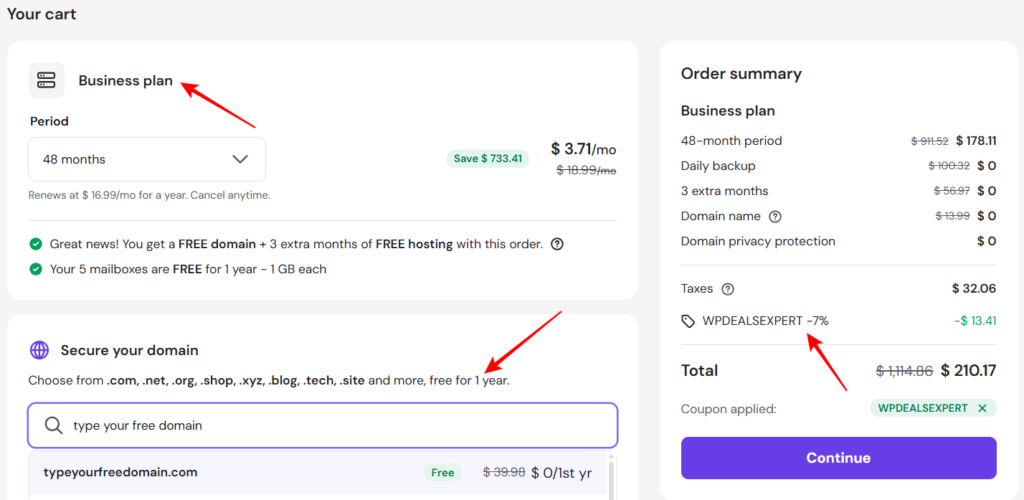
Step 4 — Review Your Cart and Apply Coupon Code
Before hitting checkout, verify your order summary on the right side of the screen.
For Business Plan (48 months), here’s what the cart shows:
| Item | Regular Price | Your Price |
|---|---|---|
| 48-month hosting | $911.52 | $178.11 |
| Daily backup | $100.32 | $0 |
| 3 extra months | $56.97 | $0 |
| Domain name (1 yr) | $13.99 | $0 |
| Domain privacy | $9.99 | $0 |
| Taxes | — | $32.06 |
| Coupon WPDEALSEXPERT | — | -$13.41 |
| Total | $1,114.86 | $210.17 |
To apply the coupon code WPDEALSEXPERT:
- Find the coupon field in the order summary panel on the right
- Type WPDEALSEXPERT exactly as written
- Hit apply — you’ll see the 7% discount appear in green immediately

Step 5 — Create Your Account
This is where most guides rush through things. A couple of decisions here are worth making intentionally.
You have two registration options:
Option A — Email and Password (Recommended)
This is the cleaner route, especially if you’re setting this up for a client site or a long-term project.
- Click the Sign Up tab
- Enter your full name
- Enter your email address — use a professional one, not a throwaway. Hostinger sends invoices, renewal reminders, and support tickets to this address.
- Set a strong password — mix uppercase, lowercase, numbers, and a symbol. Hostinger’s control panel (hPanel) holds your entire hosting environment; don’t use something easy to guess.
- Click Create Account & Checkout

Option B — Google or Facebook Login
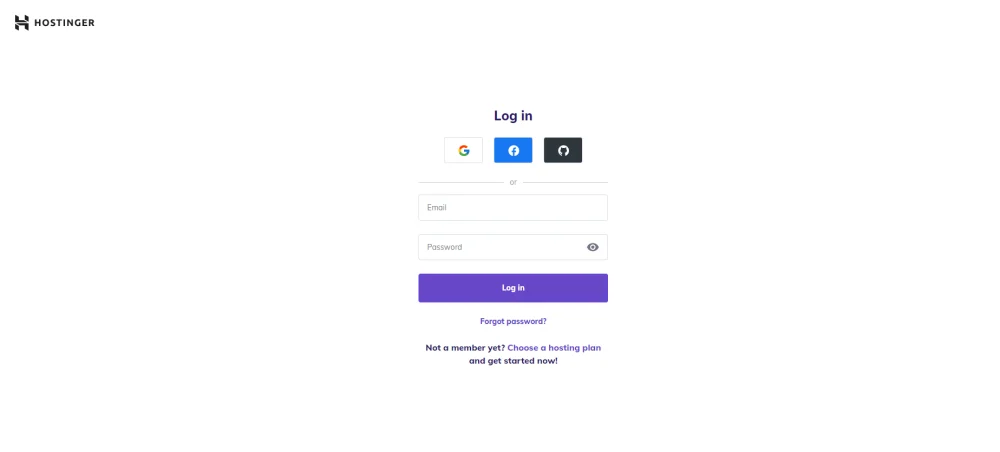
Faster, but it creates a dependency. If you ever lose access to that Google or Facebook account, recovering your Hostinger account becomes complicated. Fine for personal projects, less ideal for client work or business-critical sites.
What happens right after you click “Create Account & Checkout”:
- Your account is created instantly — no email verification required before payment
- You’re taken directly to the payment page
- The account activates the moment your payment is confirmed
One thing I noticed across multiple signups: if you use a Gmail address, Hostinger sometimes pre-fills the name field from your email metadata. Double-check it’s your actual name before proceeding, especially if you’re creating this account for a client.
Step 6 — Complete Payment
Hostinger accepts multiple payment methods:
- Credit / Debit card — Visa, Mastercard, American Express
- PayPal
- Google Pay/UPI
- Cryptocurrency (on select plans)
Enter your payment details, confirm the order, and click Pay Now.
Processing typically takes under 30 seconds.
After successful payment:
- You’ll be redirected to the Hostinger welcome screen
- A confirmation email arrives from team@account.hostinger.com with your invoice number
- Your hPanel dashboard is live and ready
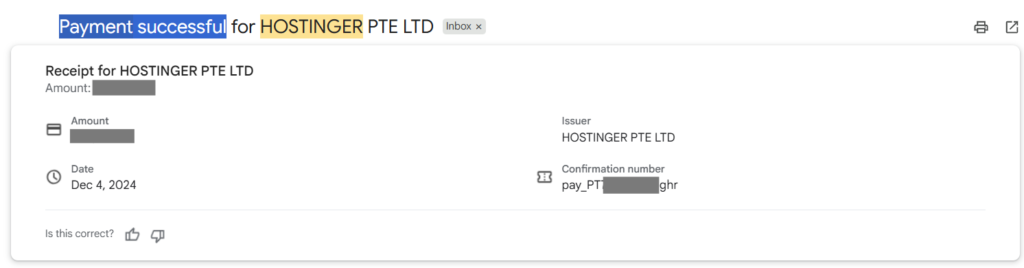
Keep that email. It has your invoice number, which you’ll need if you ever contact support about a billing issue.
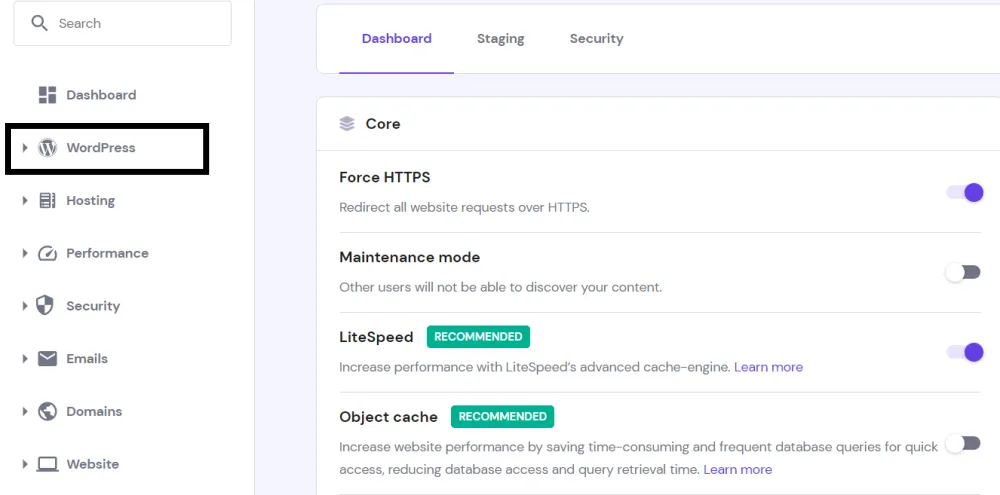
Log In to hPanel and Set Up Your Website
Once payment is confirmed, go directly to hpanel.hostinger.com and log in with the email and password you just created.
On your first login, Hostinger runs a short onboarding wizard — it asks 3 to 4 simple questions about your website type, experience level, and CMS preference. Select WordPress.
Complete these steps in your first 10 minutes:
1. Install WordPress
hPanel → Websites → Manage → Auto Installer → WordPress
Set your site title and admin credentials. Installation completes in about 2 minutes. Full walkthrough here: how to install WordPress in Hostinger
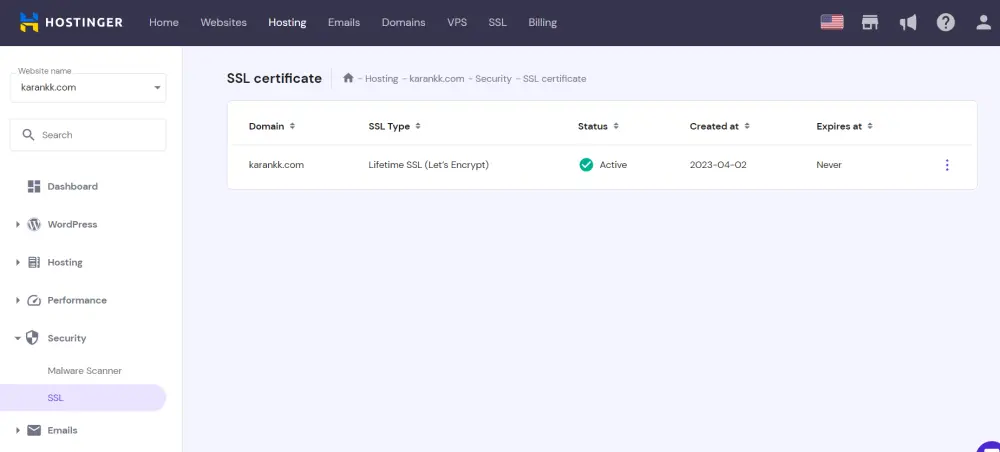
2. Activate your free SSL
hPanel → Security → SSL → confirm “Active” status is showing on your domain
Most plans auto-install SSL. If it shows as inactive — click Install. Do not take your site live without SSL active.
3. Register your free domain
hPanel → Domains → Register → search your preferred name
Free for the first year. If your preferred .com is taken, .in or .blog are solid alternatives — especially if your target audience is primarily in India.
4. Set up email mailboxes
hPanel → Emails → Email Accounts → Create
Business plan includes 5 mailboxes per website, free for the first year. A professional email address (yourname@yourdomain.com) adds credibility — particularly important for client-facing sites.
5. Activate CDN (Business plan users only)
hPanel → Performance → CDN → Enable
This step gets skipped more often than it should. Free CDN is included in the Business plan — turning it on directly improves LCP scores and makes a noticeable difference in page speed for audiences outside your server’s region.
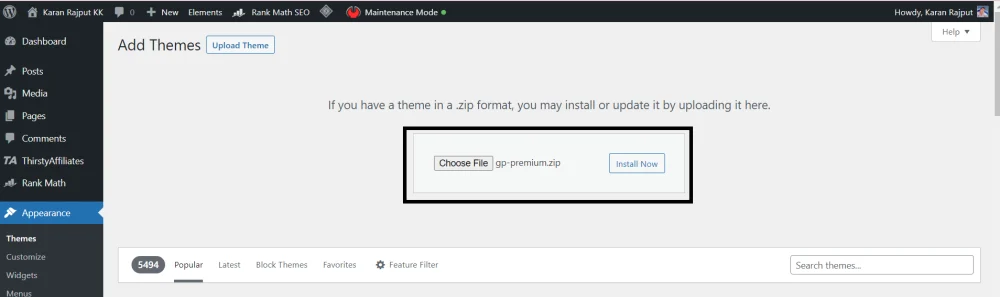
6. Install Your Theme and Essential Plugins
Once WordPress is live, start with a lightweight theme. Here’s how to install GeneratePress Premium and a guide to installing essential plugins that every WordPress site needs.
From here, focus on content. Here’s how to create high-quality and engaging content and how to optimize your content for SEO once your site is live.
Is Hostinger Worth It for Beginners?
For most use cases — yes.
I used Hostinger for about 3 years across a personal blog, two client WordPress sites, and a small WooCommerce store. A few honest observations from that time:
hPanel is genuinely simpler than cPanel. If you’re buying hosting for the first time, you won’t feel lost navigating it. The layout is clean, and most tasks are two or three clicks away.
One-click WordPress installation works exactly as advertised — the whole process takes about 2 minutes from clicking Install to having a working WordPress dashboard.
Support response time on live chat is typically 2 to 3 minutes. More complex issues take longer, but the team is consistently available.
One honest limitation worth flagging: The Premium plan does not include daily backups. On one client site I managed, I had to set up a manual backup schedule using a plugin. If you’re running a production site, go with the Business plan from day one. The $0.72/mo difference is worth it the moment you need to restore something.
Renewal pricing is the other thing to plan for. Business plan jumps from $3.71/mo to $16.99/mo on renewal. Set a calendar reminder 60 days before your renewal date, so you have time to evaluate your options.
Pros & Cons
Pros
- Pricing is genuinely among the lowest in managed WordPress hosting — $2.99/mo for Premium is hard to beat at this feature level
- NVMe storage on Business and Cloud Startup is a real performance advantage, not just a marketing label
- Free daily backups included in Business plan — Premium doesn’t have this, and it’s a meaningful gap
- hPanel is clean and beginner-friendly; no cPanel learning curve to deal with
- Free domain + WHOIS privacy + CDN all bundled without upselling at checkout
Cons
- Renewal pricing jumps significantly — Business plan goes from $3.71/mo to $16.99/mo after the initial period. Budget for this from day one.
- The Premium plan has no daily backups and no CDN — for a production site, that’s a real limitation
- Support is chat-based only; no phone option available
- The 48-month billing period required for the lowest rate is a long upfront commitment
Who Should Sign Up — and Who Shouldn’t
Good fit:
- First-time bloggers and content creators who need WordPress hosting without complexity
- Freelancers managing multiple client sites — Business plans’ 50-website limit and daily backups make it practical
- Anyone starting lean who wants to scale — Hostinger lets you upgrade plans from hPanel without migrating
Not the right fit:
- Developers who need full SSH access and custom server configuration from day one — VPS is a better path
- Sites that require phone support — it doesn’t exist here
- Anyone not prepared for the renewal rate increase after the initial period ends
Hostinger Hosting Discount– Limited Time Offer!
Deal: Up to 86% OFF
Coupon Code: wpdealsexpert
Frequently Asked Questions
Do I need technical skills to sign up with Hostinger?
No. The signup process is fully guided — plan selection, domain registration, account creation, and payment all happen in a single checkout flow. hPanel (Hostinger’s control panel) is built for beginners. One-click WordPress installation means your site can be live within minutes of completing payment.
Can I change my hosting plan after signing up?
Yes. You can upgrade directly from hPanel at any time without migrating your site. Downgrading is also possible, but requires contacting support.
What payment methods does Hostinger accept?
Visa, Mastercard, American Express, PayPal, Google Pay, and cryptocurrency on select plans. All major methods are covered.
Does Hostinger offer a money-back guarantee?
Yes — 30 days. If you’re not satisfied within the first 30 days, you can request a full refund. The process is straightforward through the billing area.
Is the free domain actually free?
Free for the first year, yes. After that, it renews at standard domain pricing — typically $9.99–$19.99/yr depending on the TLD. WHOIS privacy is included at no cost on all plans.
Which plan is best for a beginner?
Start with Premium if you’re building one blog. Move to Business if you need daily backups or plan to manage more than one site. The $0.72/mo difference is worth it the moment something goes wrong, and you need to restore a backup.
What happens after I complete payment?
You get a confirmation email with your invoice number, and hPanel is immediately accessible. From there, install WordPress, activate SSL, set up your domain, and you’re ready to build.
Final Verdict
Hostinger is a solid starting point for bloggers, freelancers, and small business owners who want reliable WordPress hosting without paying SiteGround or WP Engine prices.
The signup process takes under 10 minutes from plan selection to hPanel access. Business plan at $3.71/mo on 48-month billing is the sweet spot for most users — NVMe storage, daily backups, CDN, and 50 websites under one account.
One honest reminder: the renewal rate is significantly higher than the intro price. Plan for it.
👉 Get started with Hostinger — use coupon code WPDEALSEXPERT at checkout for an extra 7% off.